Homemade yogurt sounds like one of those things that would be super complicated (and maybe a bit scary) to make, but turns out making yogurt at home is incredibly easy—especially if you use your Instant Pot—and you can save tons of cash and make even healthier yogurt than what you get in the store!
We’ll show you how to make yogurt at home in your Instant Pot (our favorite way) or on your stovetop (also works perfectly). It takes just two ingredients and about 10 minutes of active time. You can do this! 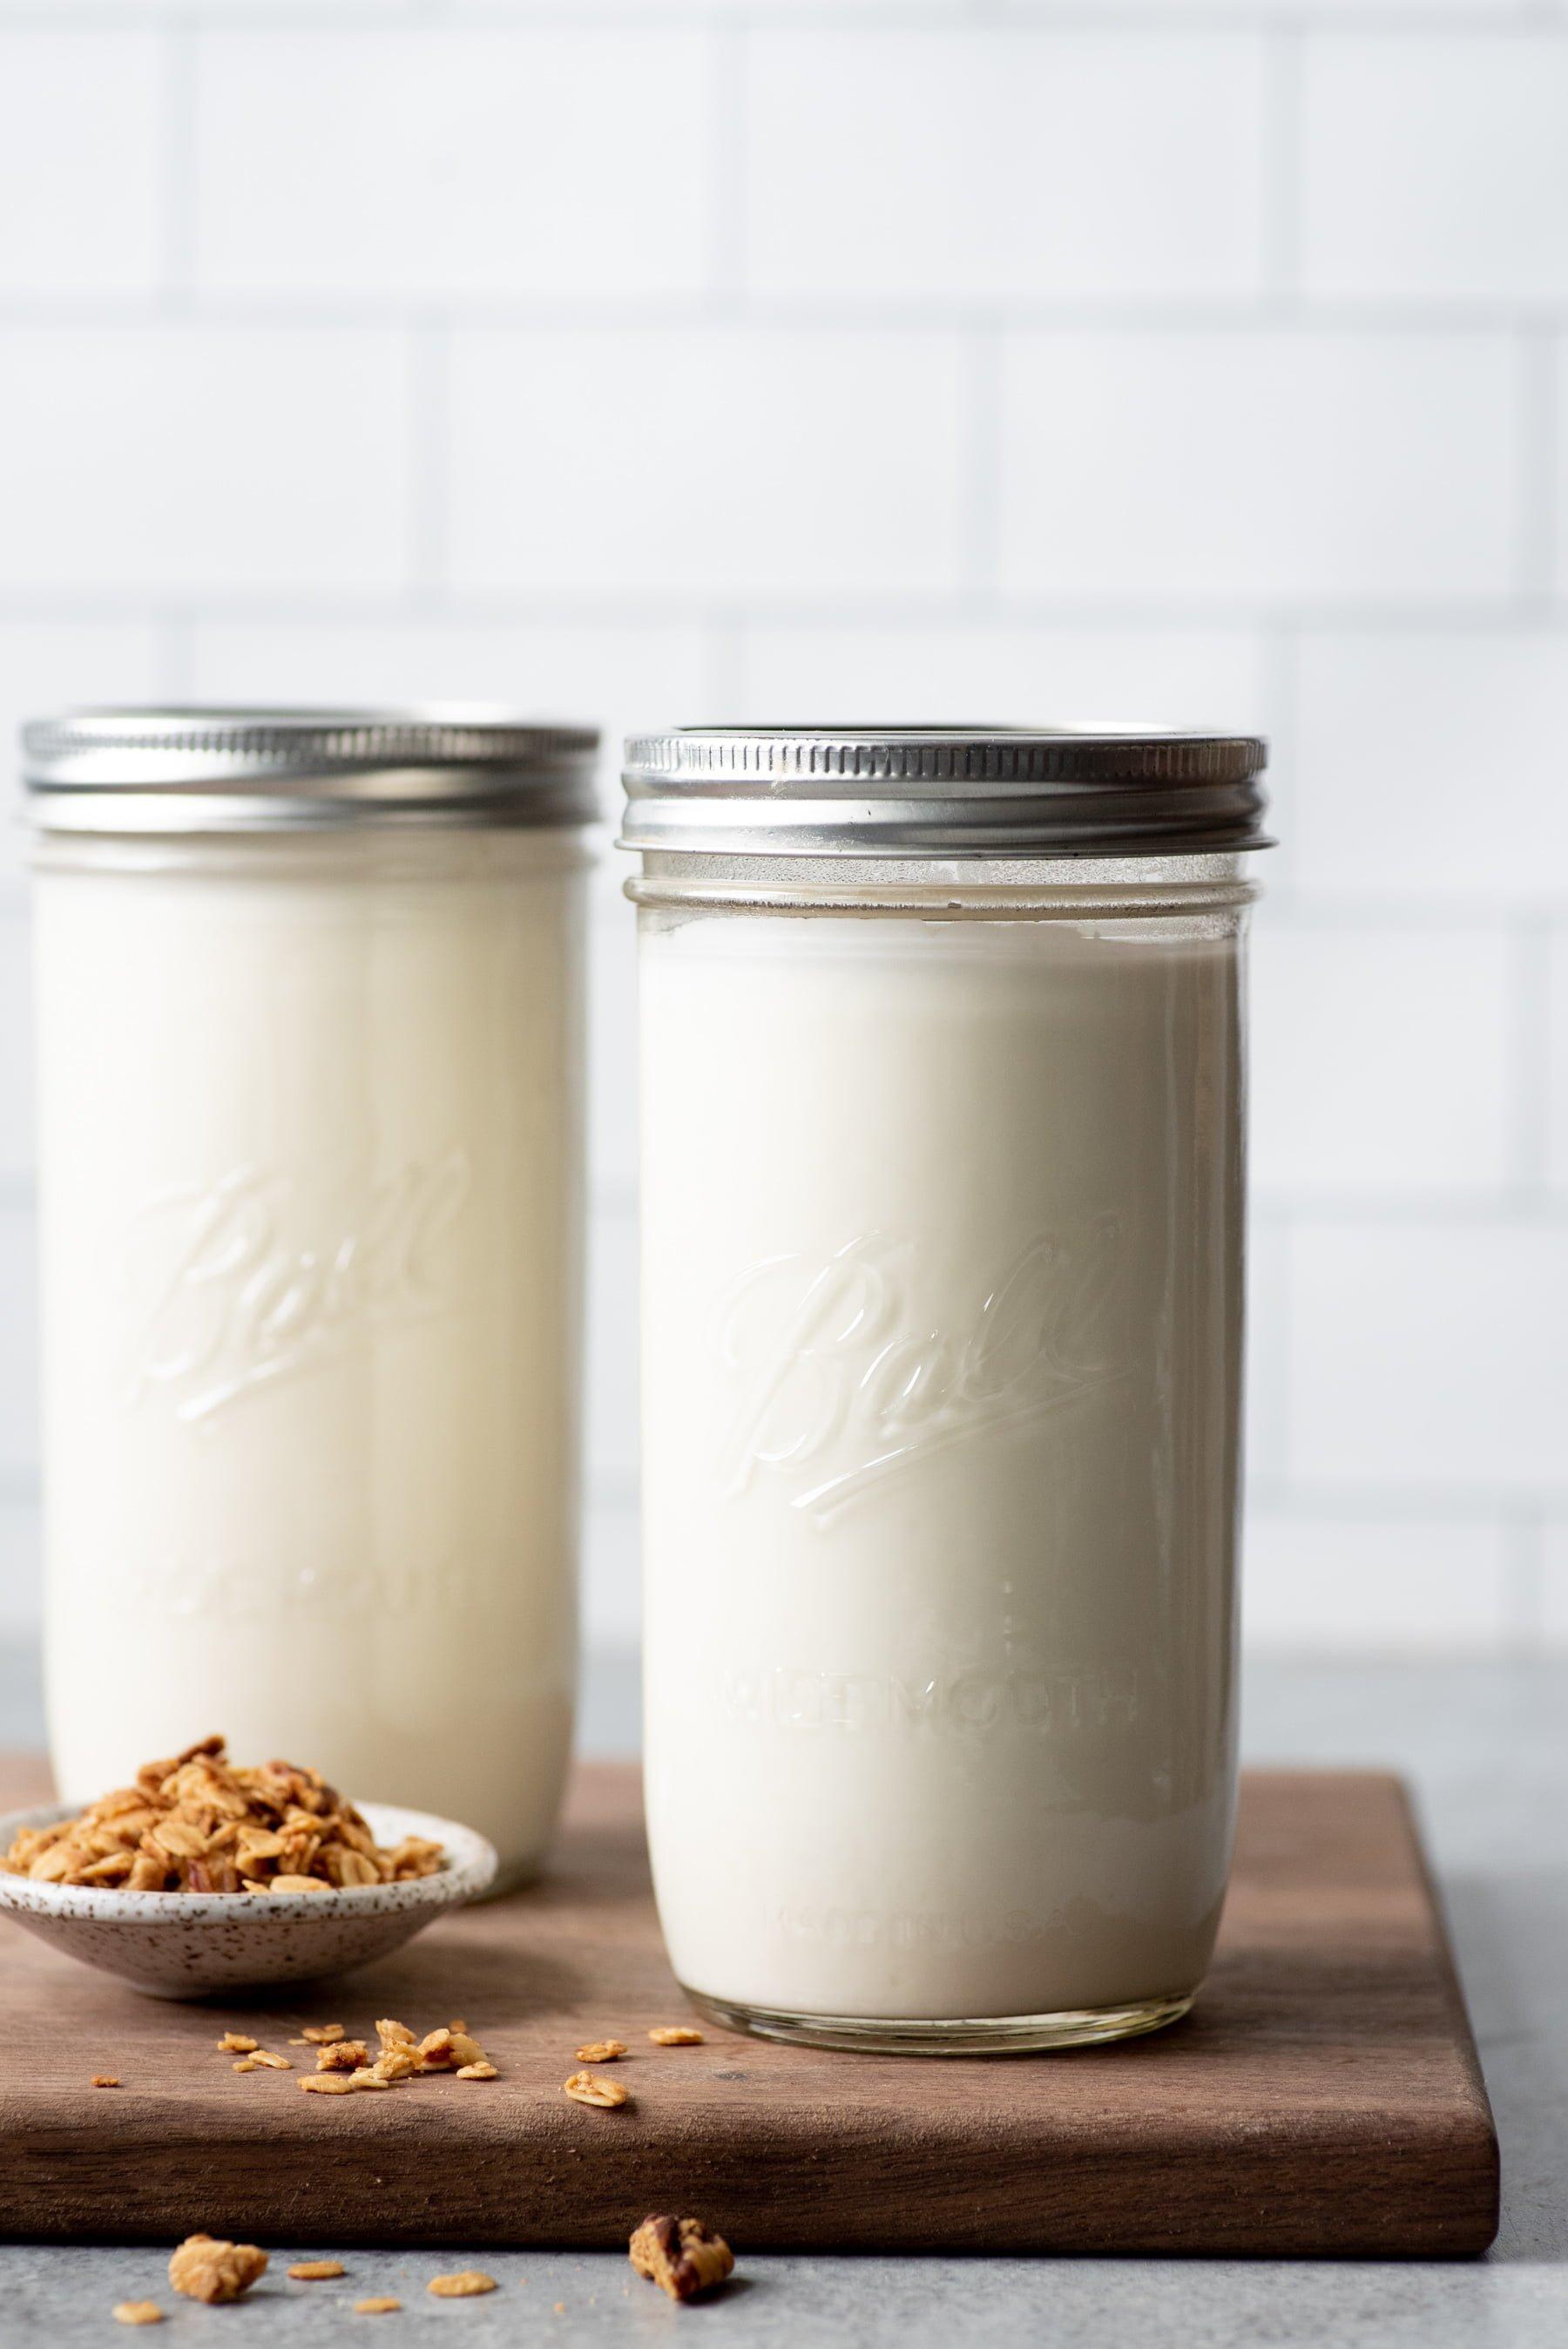
You are watching: How to Make Yogurt (With or Without an Instant Pot!)
Why is homemade yogurt healthier than store-bought?
The yogurt you make at home is healthier for your family because you control what mix-ins you use (have you ever looked at how much sugar is in the store-bought kind?) and because of how long it ferments. In our house, we make 24-hour probiotic yogurt—which means it ferments for a full day. Many store-bought yogurts are fermented for only a couple of hours, and some as few as 30 minutes! Why do you want a long ferment time? Well, I’m glad you asked:
- Probiotic yogurt is virtually lactose-free! Twenty-four hours is the magical spot where the beneficial bacteria from your yogurt starter culture have gobbled up almost all of the lactose in the milk—leaving you with yogurt that is nearly lactose-free and much easier to digest.
- It’s packed with more beneficial bacteria than most probiotic pills. A single cup of 24-hour fermented probiotic yogurt has 700 billion CFUs of good bacteria! Go ahead and check your probiotics bottle—I’m going to guess it’s nowhere near that 700 billion mark.
- It’s thick, tangy, delicious, and versatile! The long fermentation time gives the yogurt a Greek yogurt-style tart and tangy flavor and thick texture, which makes it perfect for both sweet and savory uses.
Teach me how to make yogurt!
We’re going to show you the exact method for making yogurt in both your Instant Pot and on your stovetop, but the gist of the method is the same:
- Heat the milk to 180°F to pasteurize and kill any wild bacteria or yeast in the milk.
- Let the milk cool to around 100°F.
- Add in a starter culture—this can either be specific yogurt culture or plain yogurt (more on this in a bit). Stir well. Cover.
- Keep the mixture at around 110°F for at least 8 hours to ferment, but preferably closer to 24 hours to get the most probiotics.
Okay, what’s so great about Instant Pot yogurt?
Before electric pressure cookers became a thing, I made my yogurt at home on the stovetop and using a heating pad to keep the temperature even for 24 hours. It works just fine, but an Instant Pot makes the whole process even easier! That’s because the Instant Pot is programmed to keep the fermentation temperature at an even 110°F during the culturing time. It makes it completely no fuss! I have never had a batch fail since getting my Instant Pot years ago.
But what if my Instant Pot doesn’t have a “Yogurt” button?
See more : My very best Vanilla Cake – stays moist 4 days!
The majority of Instant Pots have this function, but a few do not. If yours doesn’t have one, just skip the Instant Pot and instead follow our directions for making your yogurt on the stovetop instead.
What ingredients do you need to make yogurt?
Let’s talk about the two ingredients you’ll need: milk and a yogurt starter culture.
- Milk: I recommend starting with organic, grass-fed whole cow’s or goat’s milk (if you want a plant-based yogurt, we have a tutorial for that, too). You might be tempted to go for a lower milkfat, but really, you want the whole kit-and-kaboodle here—that’s what makes the end result creamy, thick, and packed full of good-for-your-gut probiotics. You can use raw milk, pasteurized, or ultra-pasteurized—all three will work just fine here.
- Yogurt starter culture: You’ll need to inoculate your milk with some starter bacteria to get the yogurt-making process going, and there are two ways of going about this. You can either use premade plain yogurt with active cultures (either store-bought or from a previous batch of homemade yogurt) or you can use a freeze-dried yogurt starter culture.
So what’s the best yogurt starter culture?
Both premade yogurt and freeze-dried yogurt starter culture work relatively the same, with one important caveat—because we recommend fermenting for such a long period of time, you give the bacteria all the time they need to run rampant. Which is great if it’s a bacteria your gut needs—less great if the bacteria that runs rampant in your yogurt is one that your body doesn’t need. When using premade yogurt as your starter culture, you run the risk of inoculating your new batch of yogurt with a bacteria that you didn’t intend to be there—something that got in from the air, from your container, from a spoon—anywhere!
You reduce this risk using freeze-dried starter cultures. This isn’t a big deal if your digestion is in good shape and you are more-or-less healthy. But if you are fighting any sort of illness or disorder, you might want to be more careful with the bacteria you are introducing into your body and stick with a yogurt starter culture.
Another time to do freeze-dried starter cultures: if at anytime your homemade yogurt made from premade yogurt starts to be “off” in taste, texture, or color, it might be time to start a fresh batch with freeze-dried starter cultures. I personally use fresh starter culture every fourth time that I make yogurt, just to get a fresh start.
 How do you make yogurt in an Instant Pot?
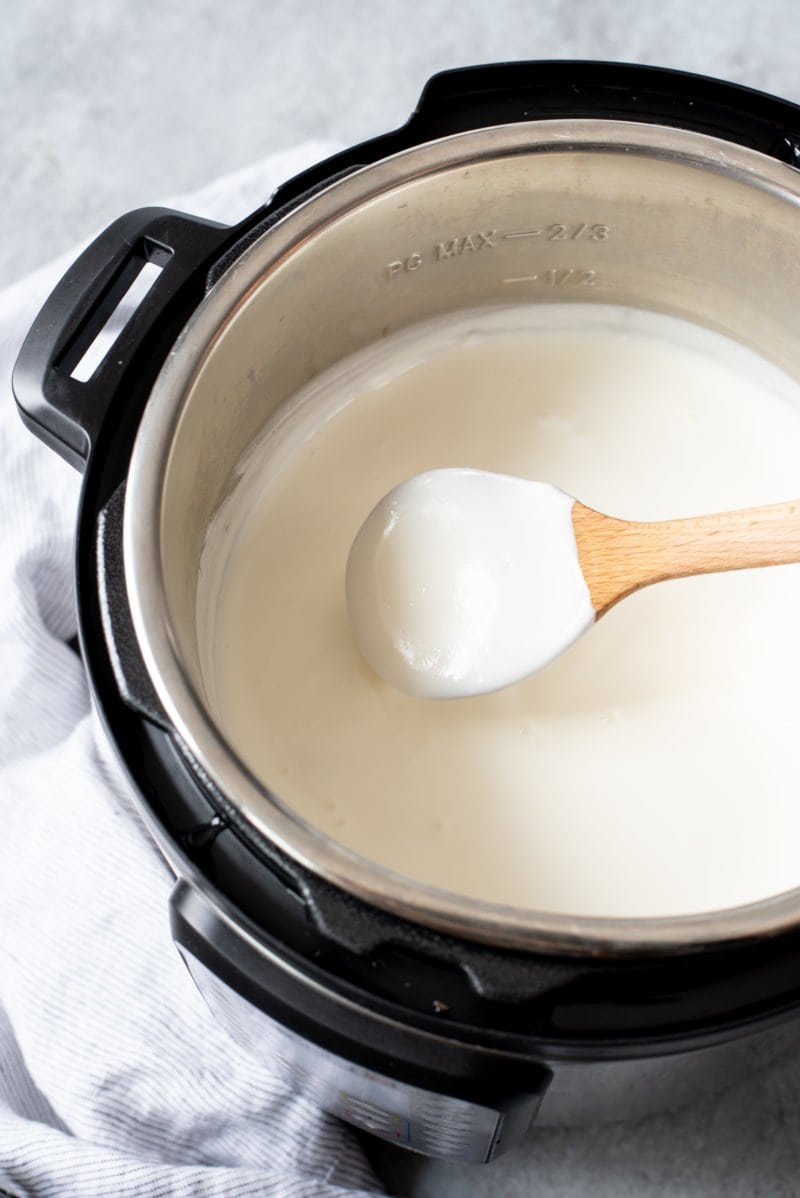
The Instant Pot is without a doubt the simplest way to make yogurt. Here’s how you do it:
- Heat the milk. Fill the Instant Pot with milk. Hit the “Yogurt” button and then press “Adjust” until you see “Boiling.” Cover and step aside for awhile! The temperature sensor will automatically turn off the Instant Pot and beep when it hits 185°F.
- Cool the milk. Allow the milk to cool to between 100°F and 115°F—the perfect temperature for yogurt bacteria to thrive. You can do this naturally, or you can speed up the process by submerging the insert from your Instant Pot in an ice bath.
- Inoculate the milk. If using pre-made yogurt as a starter, take a little bit of the warm milk and whisk it with your starter yogurt in a small bowl. Pour the yogurt/milk mixture into the milk and whisk well. If using a freeze-dried yogurt culture, just sprinkle it onto the warm milk and whisk the dickens out of it.
- Ferment! Place the lid back on the Instant Pot, and again press the “Yogurt” button and then “Adjust” it to where it shows a time. Set that time for however long you’d like to ferment your yogurt—a minimum of 8 hours, up to 24 hours.
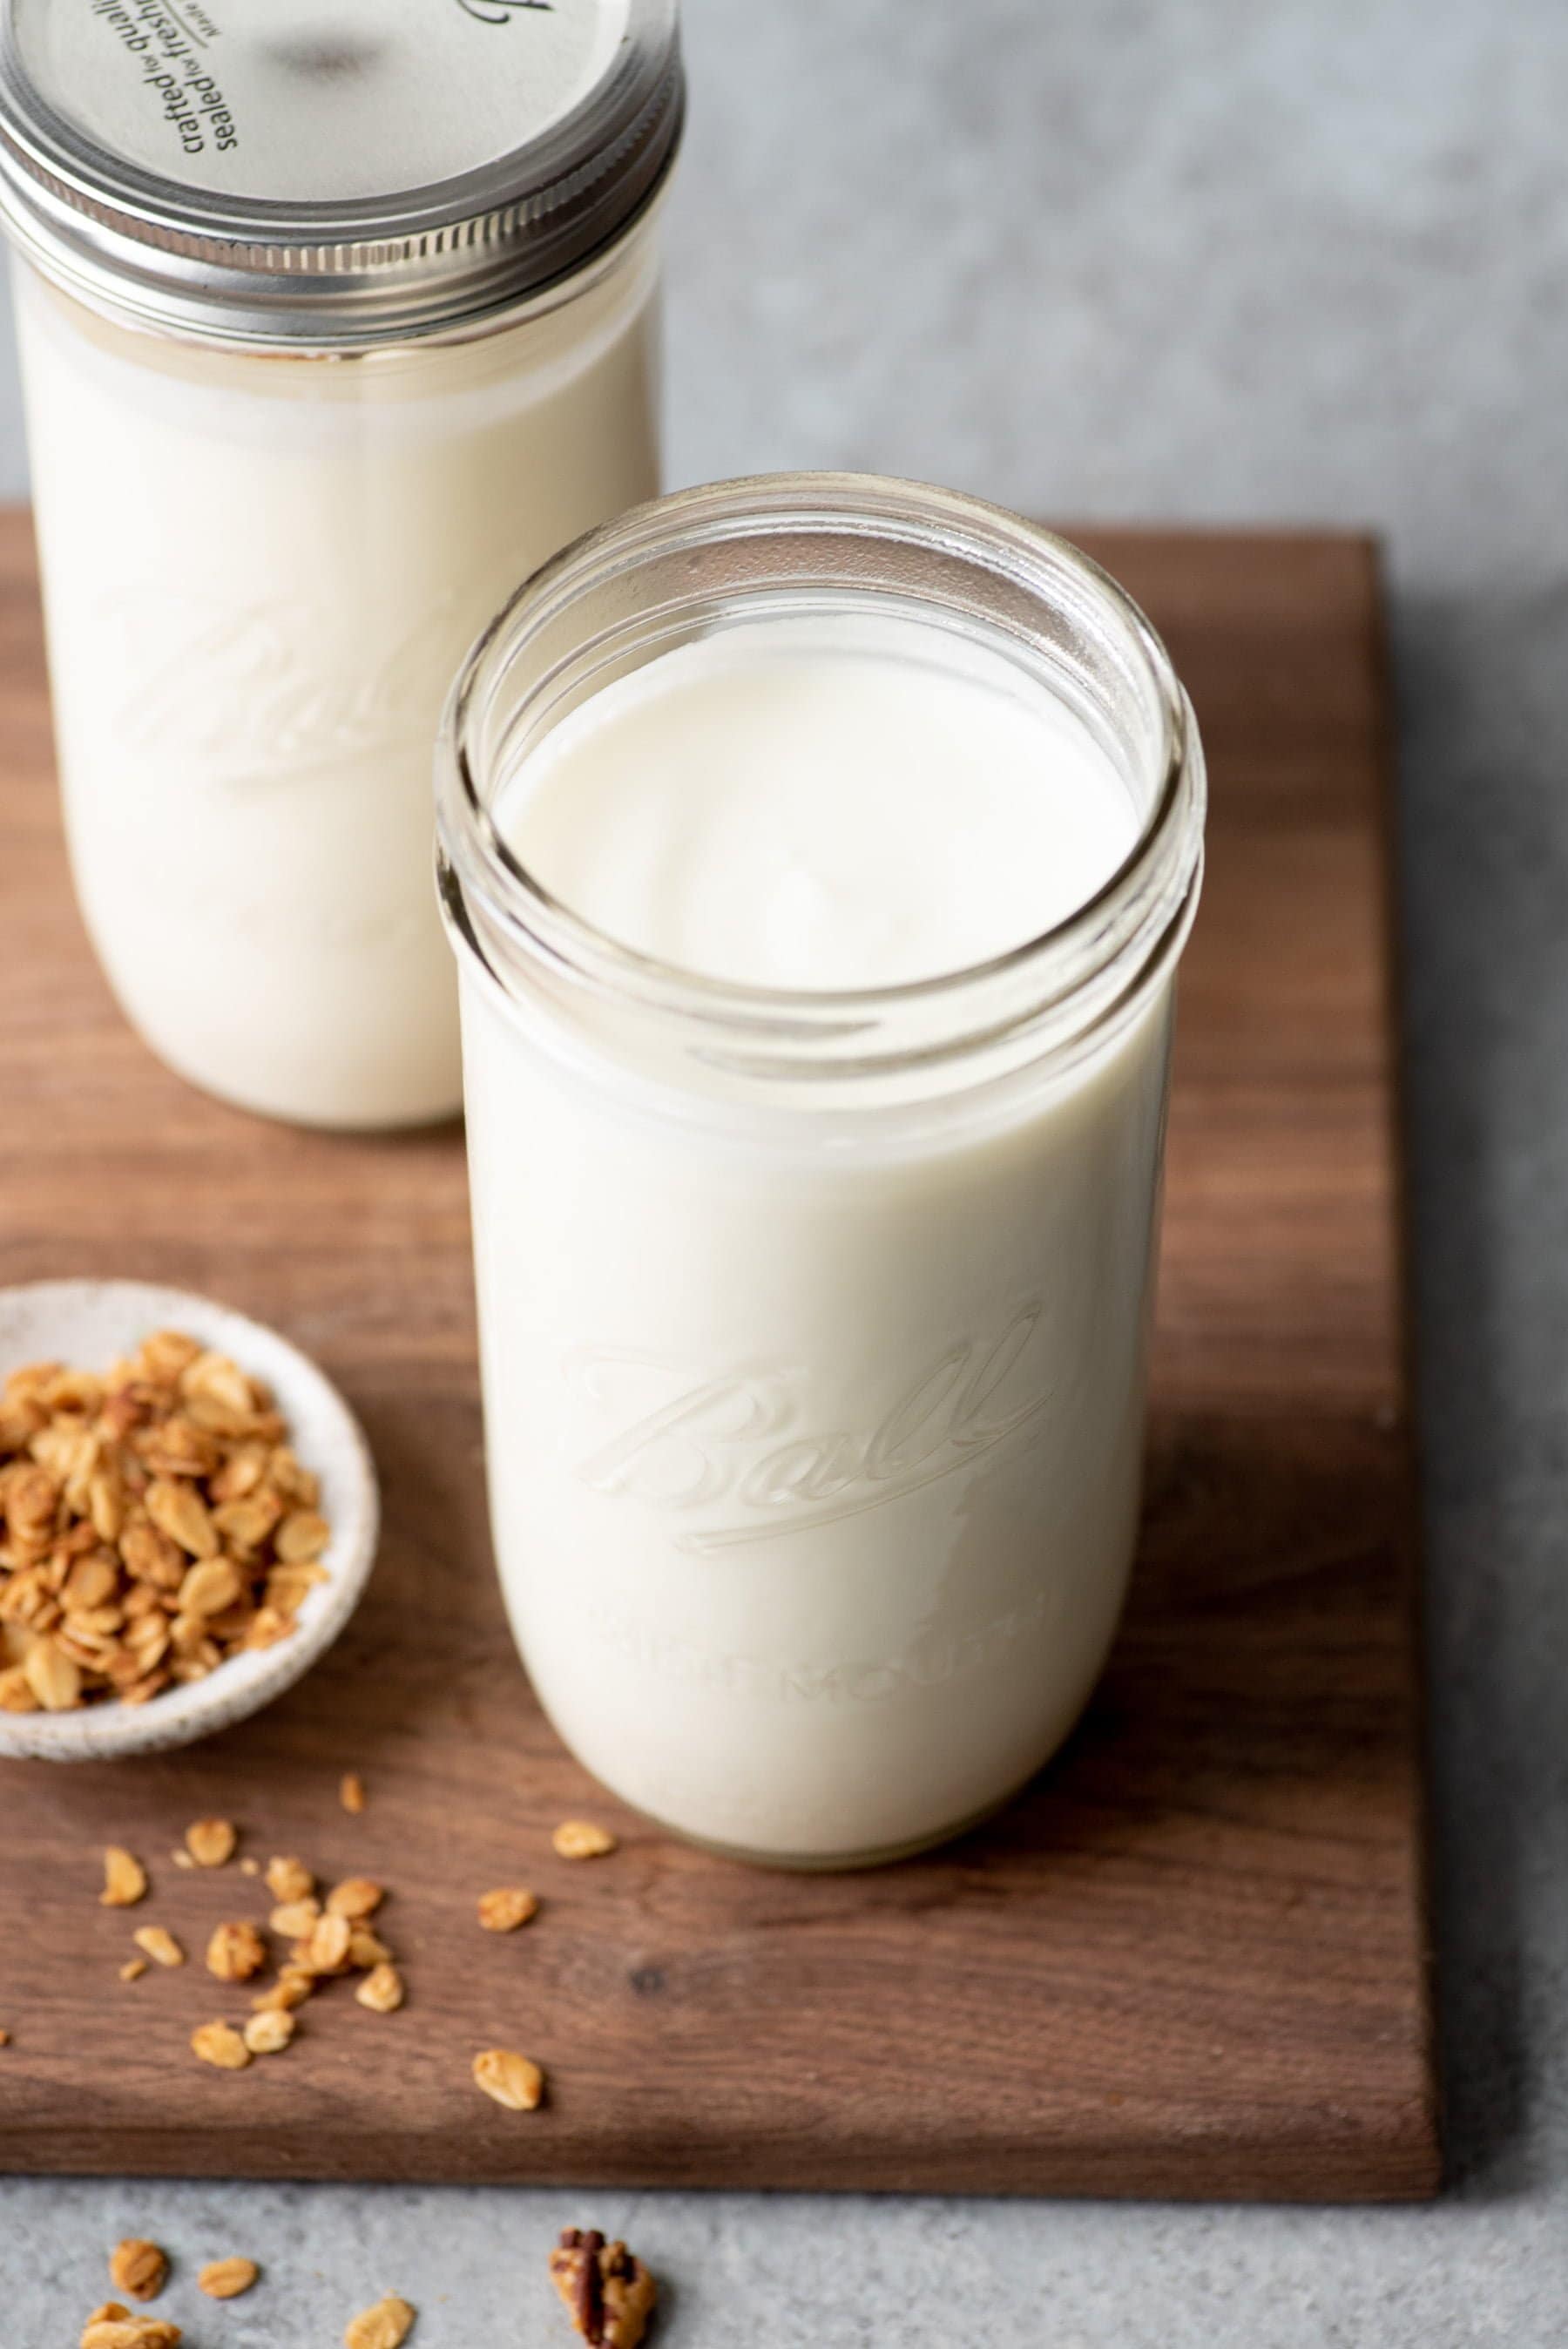
- Strain, sweeten, flavor, and enjoy. Once your fermentation time is up, you can chill your yogurt immediately (it’ll thicken slightly upon chilling). You can strain the yogurt for a thicker texture or sweeten or flavor to taste.
How do you make yogurt on the stovetop?
See more : 22 Benefits and Uses of Baking Soda
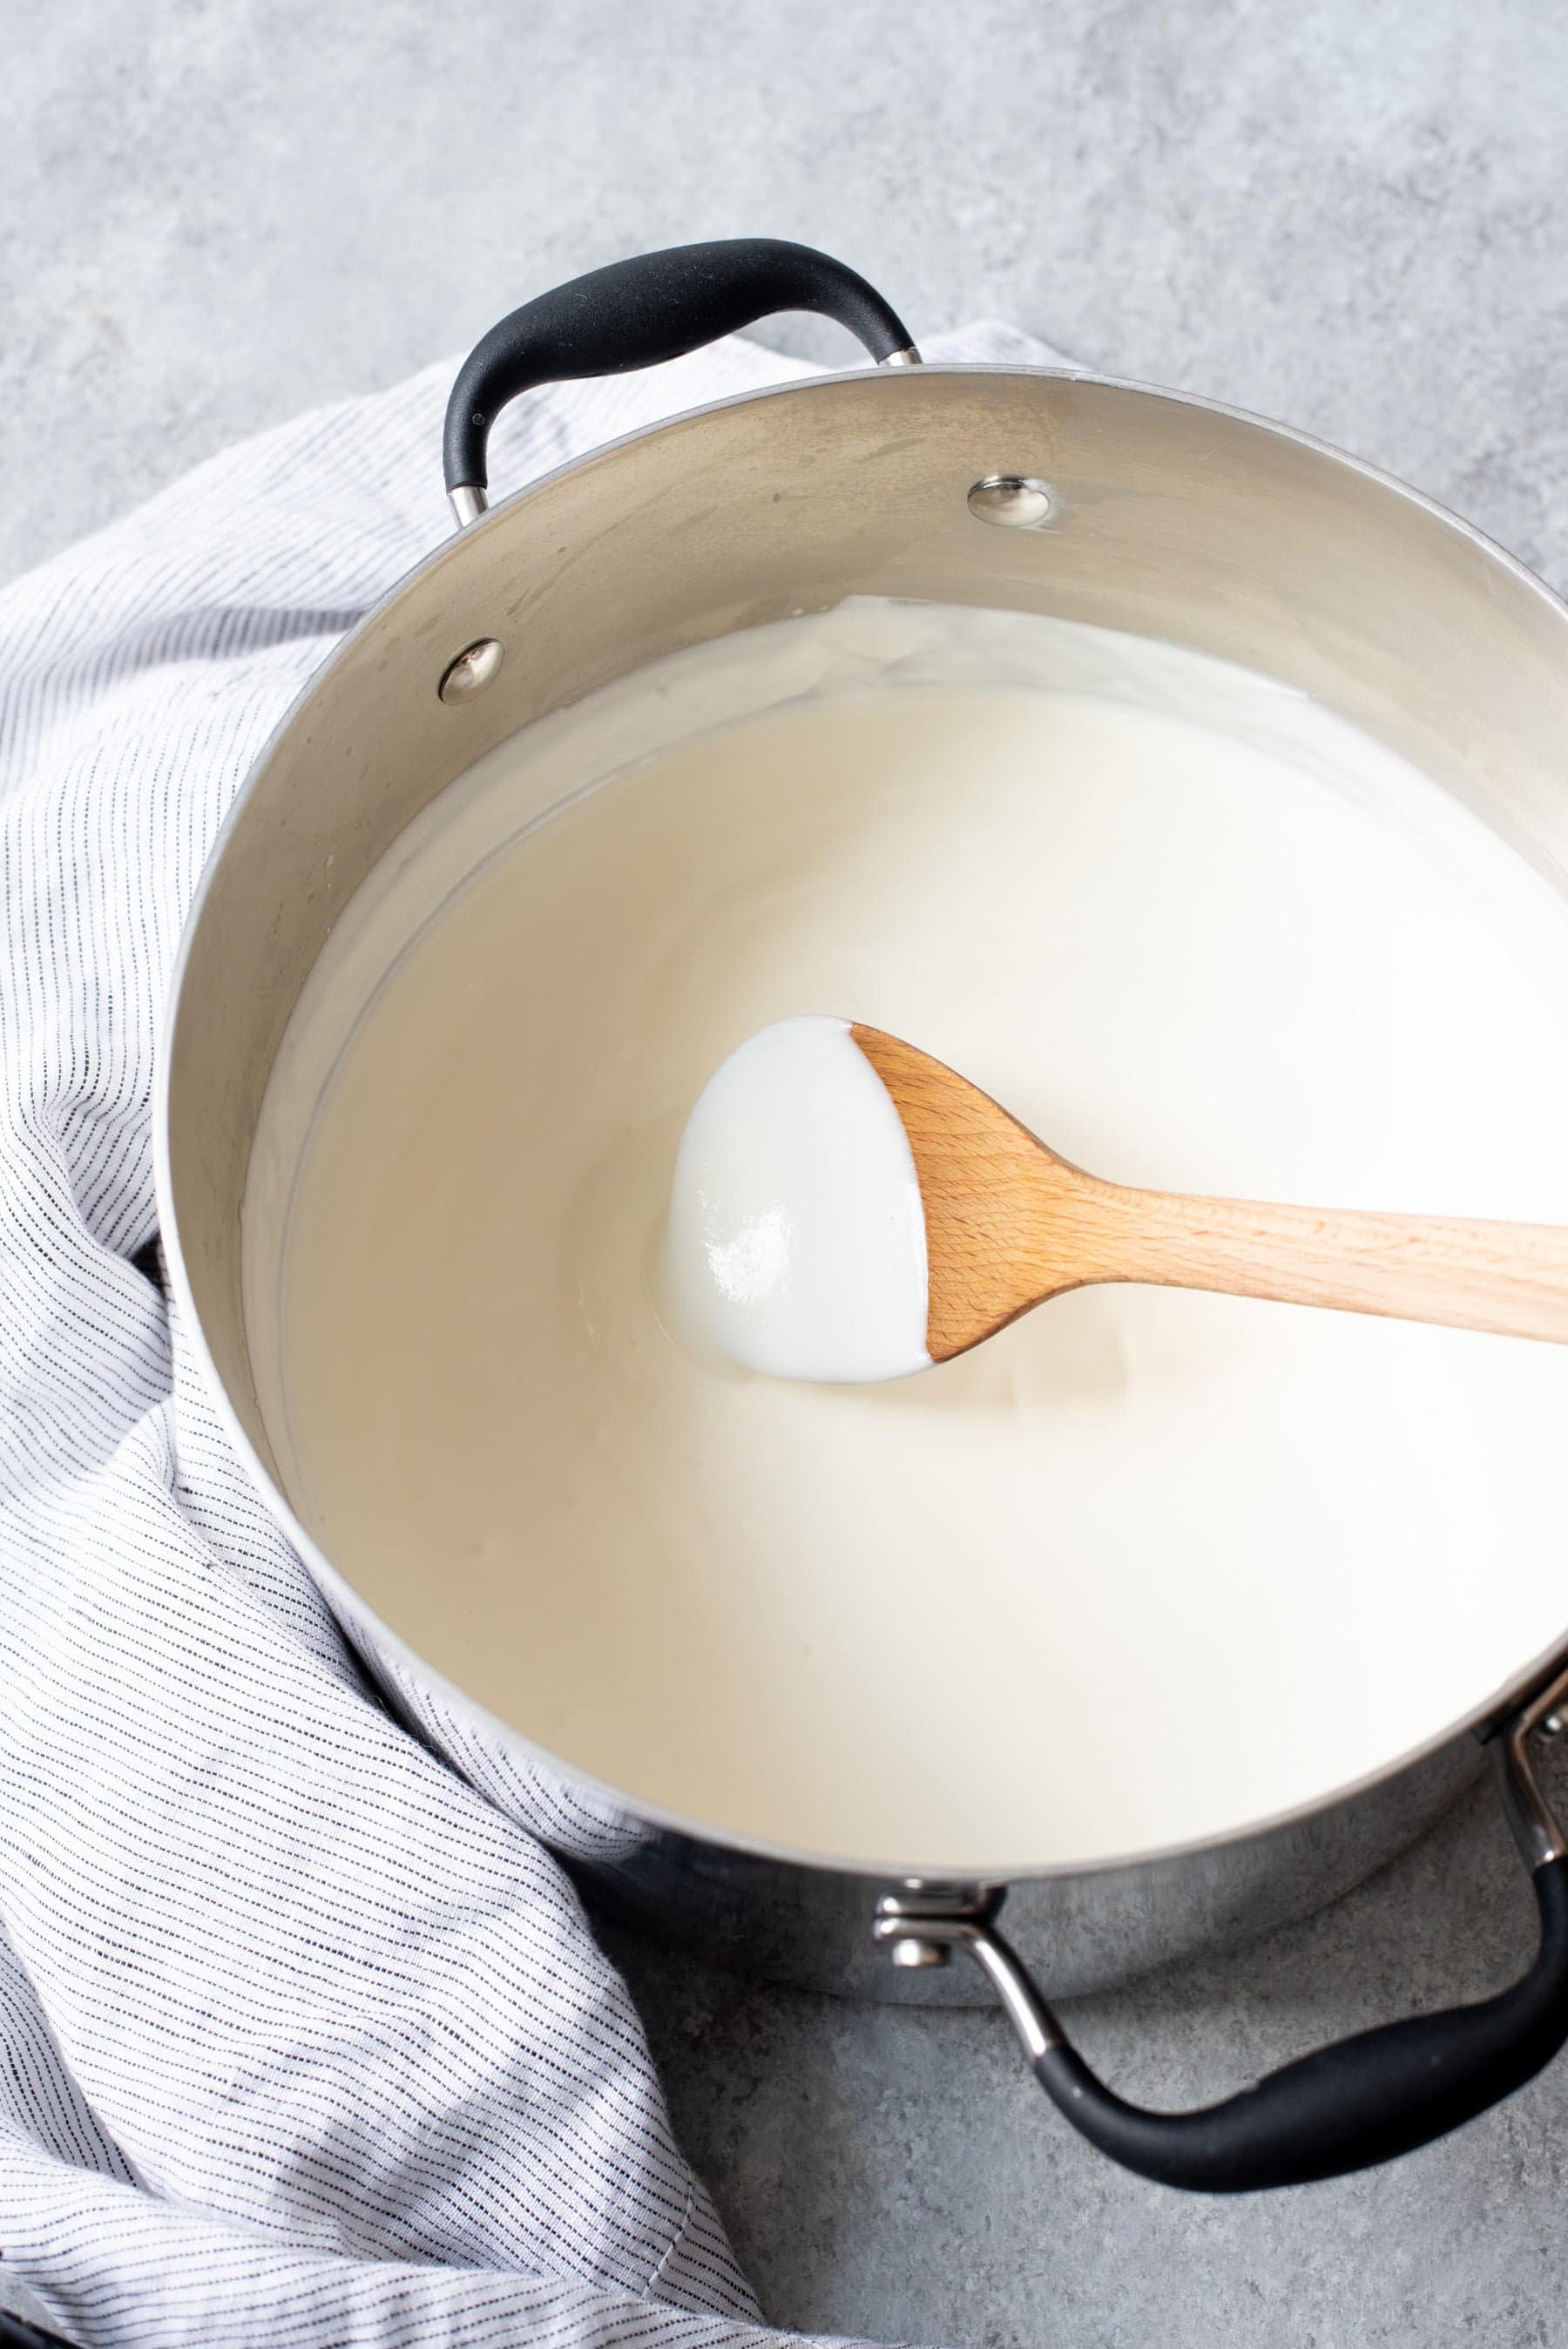
No Instant Pot? No problem. I made homemade yogurt on my stovetop for years before I swtiched to the Instant Pot. It works perfectly well! Here’s how to do it:
- Heat the milk. Over low heat on the stove, heat the milk until it reaches 185°F. You don’t want to boil the milk, but you do want the milk to get hot enough to kill any not-so-good bacteria that might be lingering. A thermometer is great if you plan on making lots of yogurt, but you don’t absolutely need one. Just heat the milk until it looks frothy, very steamy, and has small bubbles (but don’t let it get to boiling).
- Cool the milk. Turn off the heat, remove the pot of yogurt from the heat, and allow to cool. You want it to cool to between 100°F and 115°F—the perfect temperature for yogurt bacteria to thrive. You can do this naturally, or you can speed up the process by submerging the bottom of the pot in an ice bath.
- Inoculate the milk. If using pre-made yogurt as a starter, take a little bit of the warm milk and whisk it with your starter yogurt in a small bowl. Pour the yogurt/milk mixture into the milk and whisk well. If using a freeze-dried yogurt culture, just sprinkle it onto the warm milk and whisk the dickens out of it.
- Ferment! Your goal during the fermentation period is to keep your yogurt at an even 110°F. There are a ton of ways to do—a proving drawer, in the oven with the oven light on, in a cooler with warm water—but my favorite, and I think the simplest, is on top of a heating pad! Cover the pot of warm milk, and then wrap tightly in a large towel or blanket. Place on a heating pad set to low for 24 hours.
 How long should you ferment homemade yogurt?
This answer will depend on your final desired results! If you want a less tangy or thick yogurt, ferment for around 8 hours. For a thick, tangy, and probiotic-rich yogurt, go closer to 24 hours. After 24 hours, you start to hit the law of diminishing returns—you begin to get bacterial die-off because the more aggressive bacteria start to beat out the other probiotics. After about 36 hours, the whole shebang is so volatile that it won’t last long in the fridge anymore. 24 hours is the way to go—set a timer!
How long will homemade yogurt last in the fridge?
We get 2-3 weeks out of it no problem. The worst that’s going to happen is it’s just going to get tangier and more sour. As always, use your senses. If it smells, tastes, or looks off, throw it out!

Does homemade yogurt work with other milks, too?
Sure does! It works wonderfully with goat’s milk, and you can definitely make it with coconut milk, too (although the method is slightly different).
Are there other ways to keep the yogurt warm during fermentation?
Some other options to try: on top of the fridge (it’s too cold for me), under the light in an oven (I don’t like having my oven occupied for a full day), using the “warm” setting on a slow cooker (the “warm” setting on my slow cooker is closer to 165°F, which will kill all the probiotics), in a cooler filled with boiling water (never tried it). Also, there are specific yogurt machines—but if you’re going to buy something to make yogurt, I’d recommend you buy an Instant Pot. It does the yogurt-making thing and way more!
How do I use homemade yogurt?
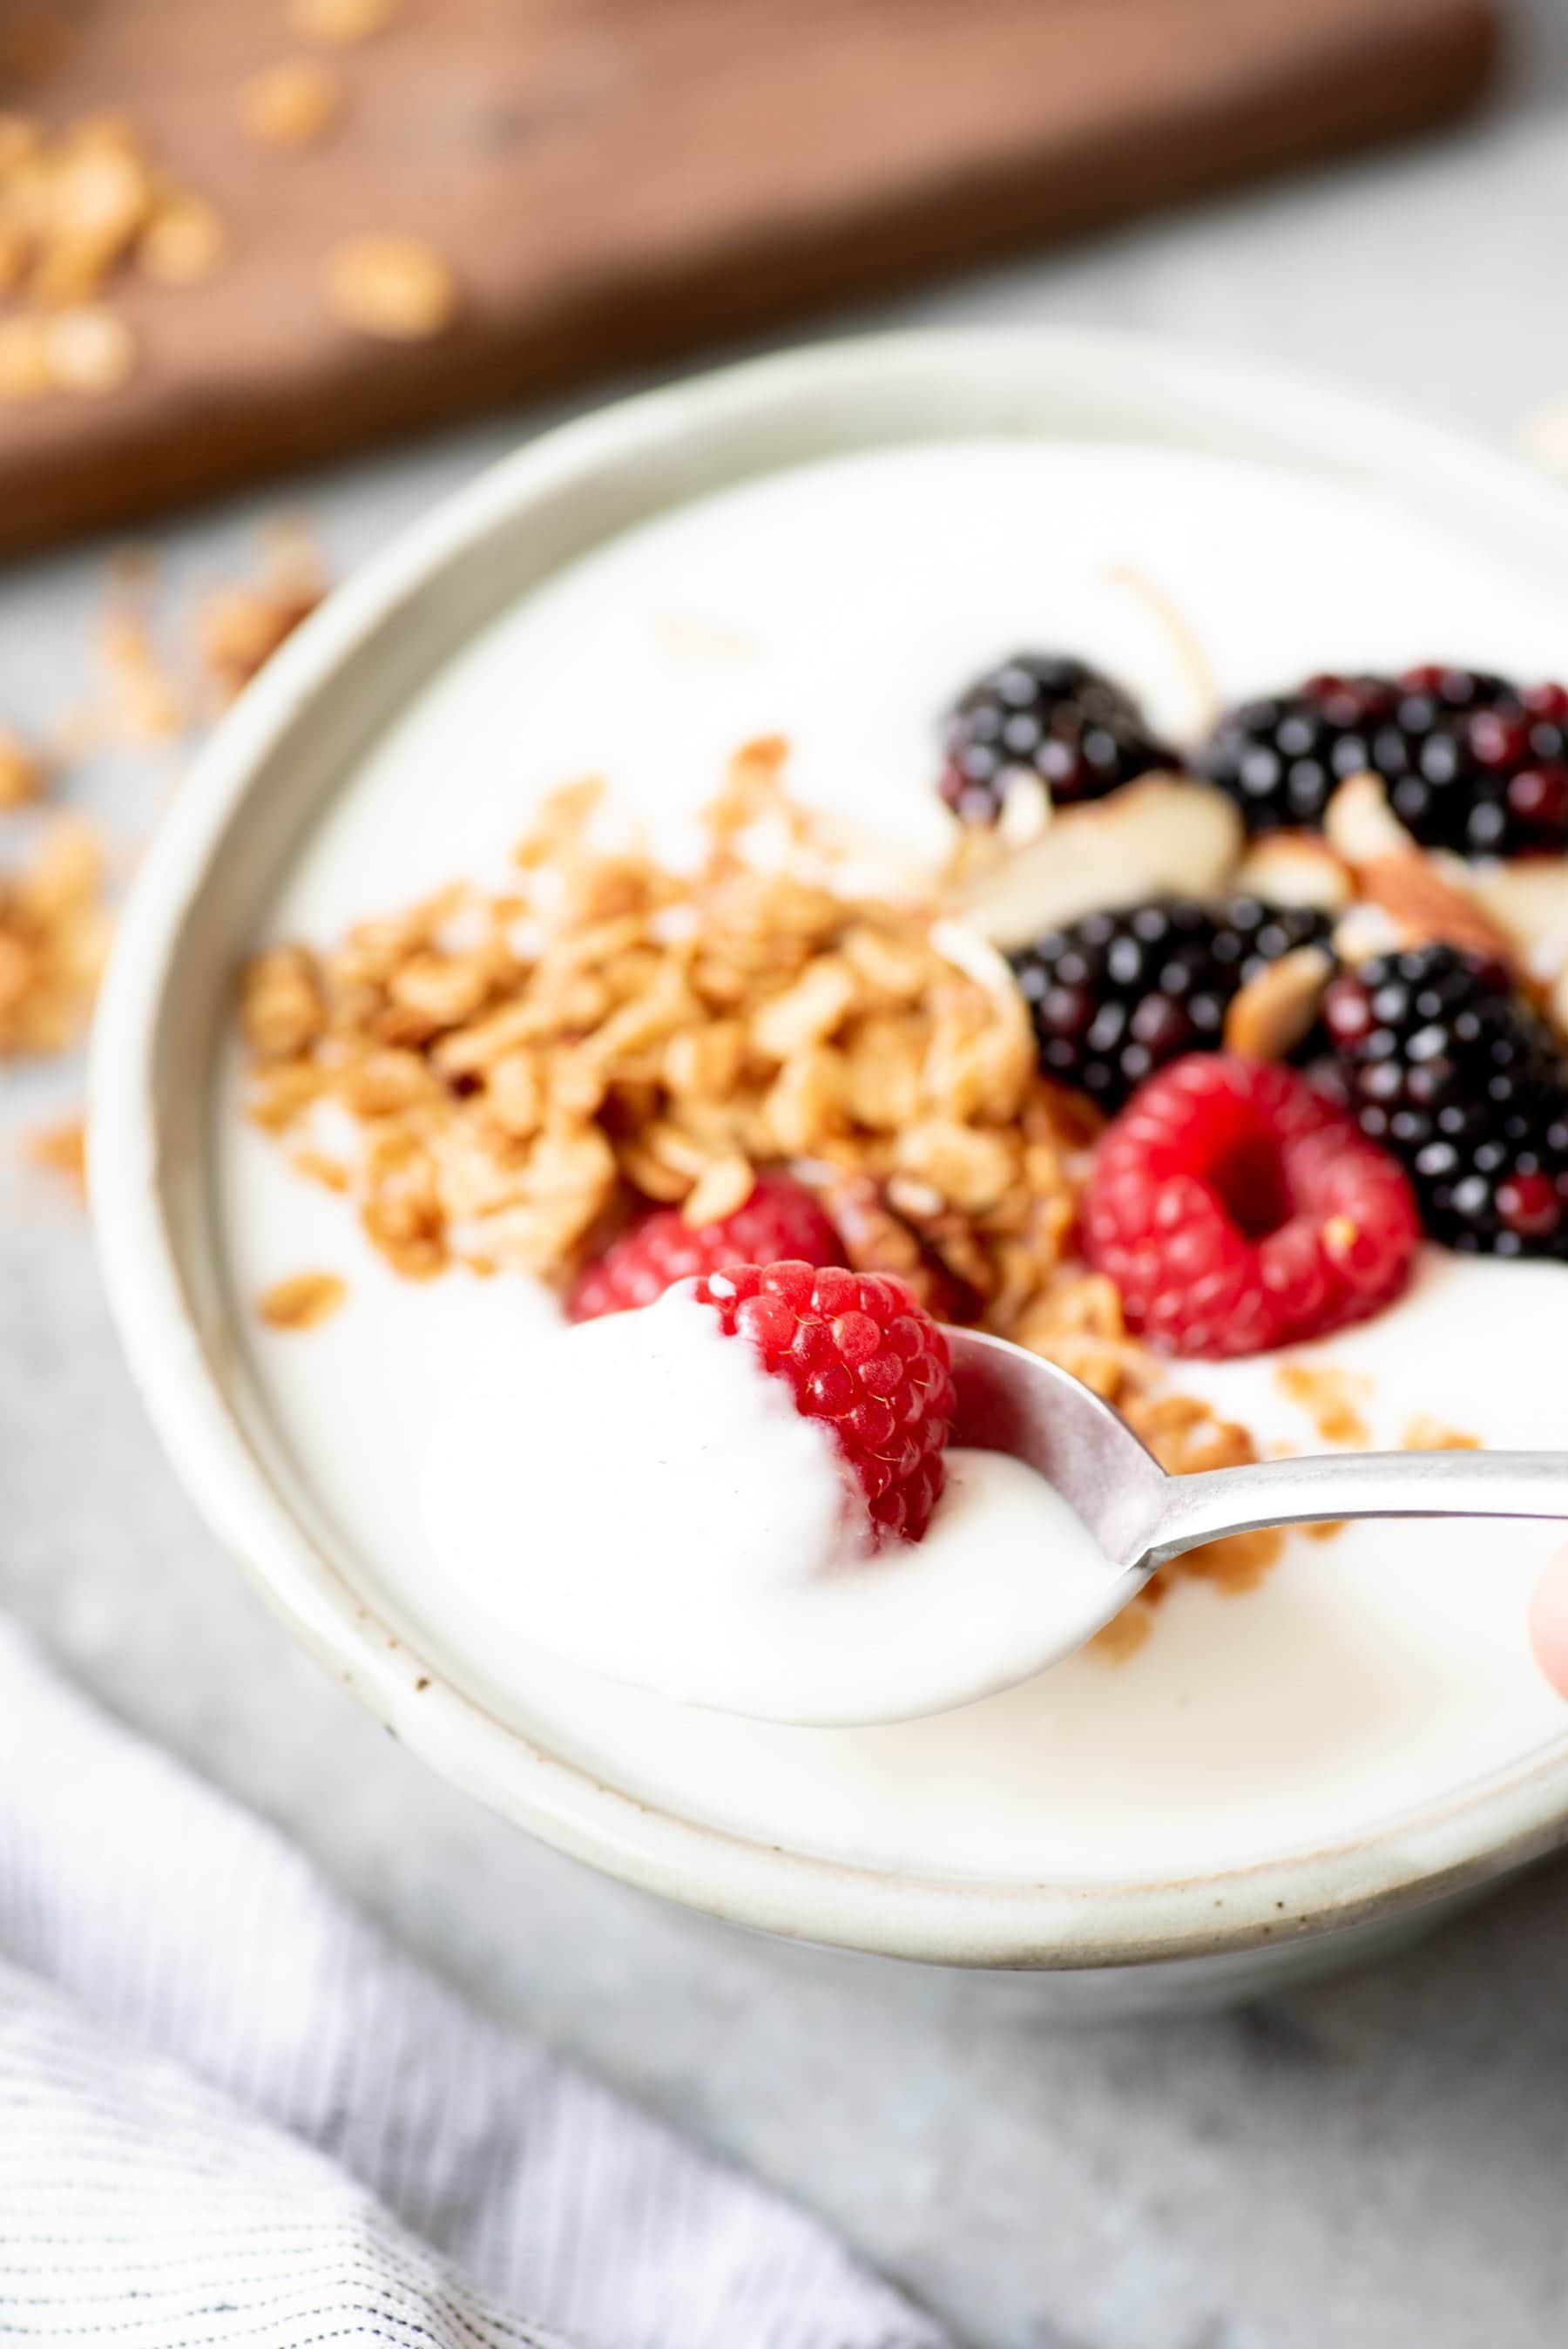
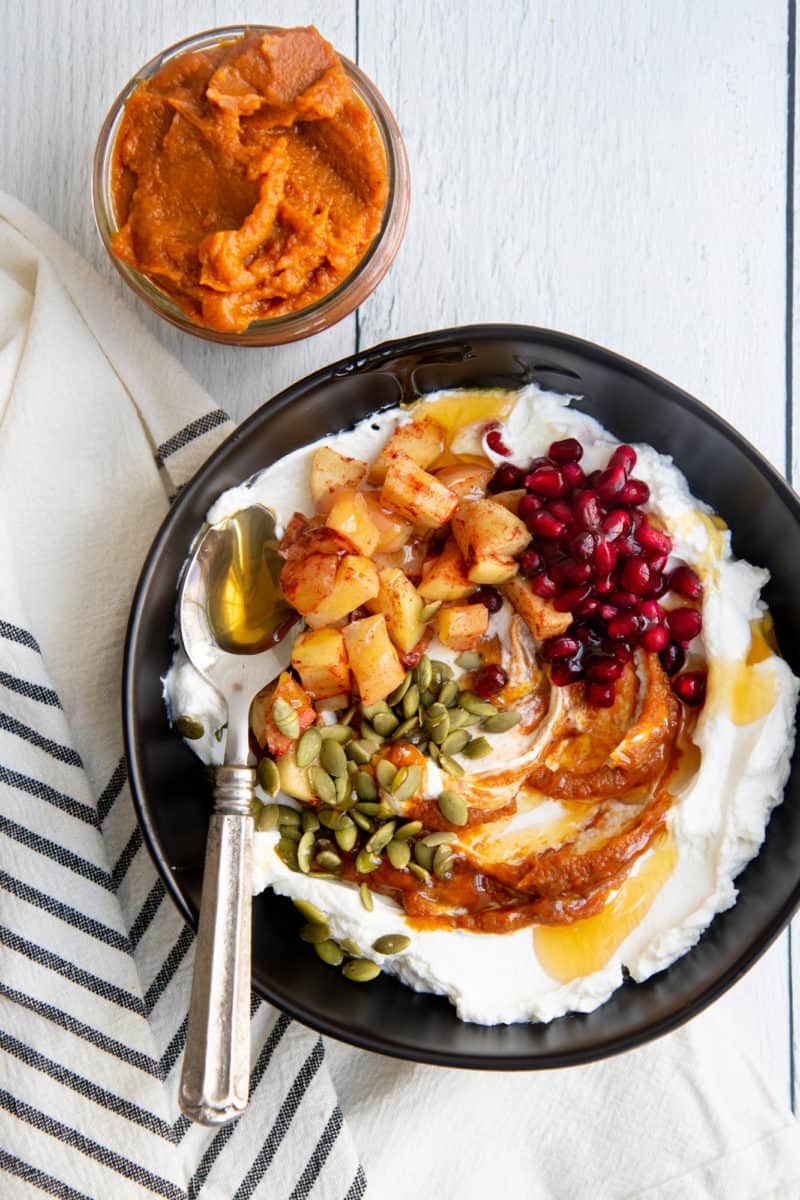
My favorite thing for breakfast is a good yogurt bowl. I top my homemade yogurt with fruits, nuts, seeds, and a drizzle of honey and call it a meal! We also use it like sour cream on chili, tacos, and burritos. My daughter likes to dip cucumber slices in it! You can also use it for cooking, but just be aware that if you heat the yogurt to above 115°F, it will kill off the beneficial bacteria (and it’ll probably curdle, too). If using the yogurt to make things thick and creamy (like in my Penne Rosa), wait until it has cooled down considerably before mixing the yogurt in.

Yogurt also makes a regular appearance in my kid’s school lunches! We pack it in a stainless steel container with an airtight lid (these are our favorites) along with fruit, muffins, sausage, egg cups, and other brunch favorites.
Looking for more fermentation and preservation projects?
- Homemade Sauerkraut. Once you’ve nailed down making yogurt, the next fermentation project to tackle is learning how to make sauerkraut!
- Instant Pot Coconut Yogurt. Want a dairy-free version of our homemade yogurt? This version uses vegan coconut milk!
- Homemade Hot Sauce. Yes! You can make your own hot sauce at home. Check out our full tutorial.
- Milk Kefir. Another wonderful fermented milk product is kefir! Learn how to make kefir in our simple tutorial.
- Canning Recipes. Check out our full list of canning recipes to get started stocking your pantry.
Source: https://en.congthucvatly.com
Category: Cook